Are you planning to go to the United States for a temporary period for work, study, tourism, or business? If so, you must know about form DS-160. It’s the first official step in the nonimmigrant visa application process to secure a US visa. Filling out the DS-160 can feel overwhelming at first, since It’s long and requires detailed information from the applicant.
But don’t worry. This blog will walk you through everything you need to know about form DS-160, helping you avoid mistakes that could delay or disapprove your visa application.
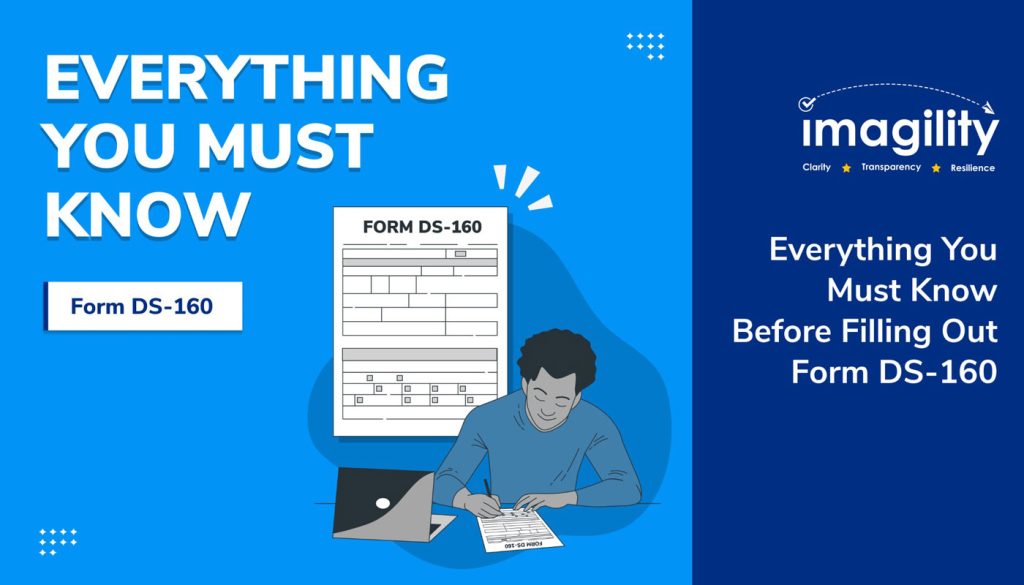
What Is Form DS-160?
Form DS-160 is the Online Nonimmigrant Visa Application used by the U.S. Department of State. It’s used to apply for all types of nonimmigrant visas to the United States, including tourist, student, and work visas.
It’s an online form that collects biographical information, travel plans, employment history, and security-related data. Once completed and submitted, it gets reviewed by a consular officer during your visa interview.
Before You Begin: What You’ll Need
Before you fill the form, gather all the documents and information you’ll need. Here’s what to have on hand:
- Your valid passport (must be valid for at least six months beyond your stay)
- Your travel itinerary (if you’ve already booked flights and accommodations)
- Previous U.S. travel history (including any past visas, refusals, or overstays)
- Resume or CV (educational and employment history, with dates)
- SEVIS ID and I-20 or DS-2019 form (if you’re applying for a student or exchange visa)
- U.S. contact info (a person, company, or school in the U.S., if applicable)
- A digital passport-sized photo (that meets U.S. visa photo requirements)
How to Access and Start the DS-160
Go to the Consular Electronic Application Center (CEAC) website. Choose the location where you’ll be applying for your visa (usually the nearest U.S. embassy or consulate in your country), and then click “Start an Application.”
- Complete the Form: Carefully fill out all sections of the application, providing accurate and complete information.
- Submit the Application: Once you complete, submit the form online.
- Print the Confirmation Page: Print the confirmation page with the barcode for your visa interview.
- Pay the visa application fee: After submitting the DS-160, you’ll need to pay the visa fee. Make sure to save the payment receipt. it’ll be required later.
- Schedule an Interview: You’ll need to schedule a visa interview at a U.S. embassy or consulate, and you’ll need to bring your confirmation page to the interview.
What You’ll Be Asked
The form DS-160 is divided into multiple sections. Here’s a quick overview of what you’ll need to fill out:
1. Personal Information
This includes your full name, gender, marital status, nationality, date and place of birth.
2. Passport Details
Passport number, date of issue and expiry, and country of issuance.
3. Travel Plans
Where are you going in the U.S.? When do you plan to arrive and leave? You’ll also need to specify the purpose of your trip (like tourism, study, or business).
4. Travel Companion Information
Are you traveling alone or with someone else? If yes, you’ll need to add their names and relationship to you.
5. Previous U.S. Travel
If you’ve been to the U.S. before, you’ll be asked about previous visits, visa issuances, refusals, or deportations (if any).
6. U.S. Point of Contact
This could be a friend, relative, employer, or school official. If you don’t have one, you can put the name of your hotel or a general organization related to your visit.
7. Family Information
This includes details about your parents, spouse, and children (if applicable). Even if your parents are deceased, their full names are still required.
8. Education and Work
Your current occupation, employer, work address, salary, job responsibilities, and previous work or education history.
9. Security and Background Questions
These are serious questions about your health, criminal history, drug use, and security threats. Answer honestly since any false answers can have serious consequences.
Once you fill out all the required details, you’ll need to upload a digital passport-style photo that meets U.S. visa photo requirements, taken in the last 6 months.
Common Mistakes to Avoid
Filling out the DS-160 might seem like just another form, but making mistakes can seriously slow things down or even lead to your visa denial. Here are some of the most common mistakes which you must avoid:
1. Typos and Inaccurate Info
Double-check the spelling of your name, passport number, dates of birth, and travel details. Make sure everything matches exactly as it appears in your passport and other official documents.
2. Inconsistent Information
Make sure your DS-160 matches other documents like your resume, invitation letter, or I-20 (for students). Inconsistencies can make the consular officer question your credibility.
3. Using a Non-Compliant Photo
Your uploaded photo must meet U.S. visa requirements. If it doesn’t, the system might reject it, or you’ll have to bring a physical copy that meets the specifications. It’s a small thing, but it can slow you down.
Wrapping Up
Filling out Form DS-160 might feel a bit overwhelming at first, but it’s one of the most critical steps in getting your U.S. visa. Take your time, stay organized, and double-check everything before you submit the form. Make sure you’ve got all the information and documents you need, answer every question honestly, and keep copies of your confirmation page. Once you’re done, you’ll be ready for the next big step—your visa interview.
Moreover, if you still need some help, you can get in touch with our sales team at sales@imagility.co.
Good Luck!